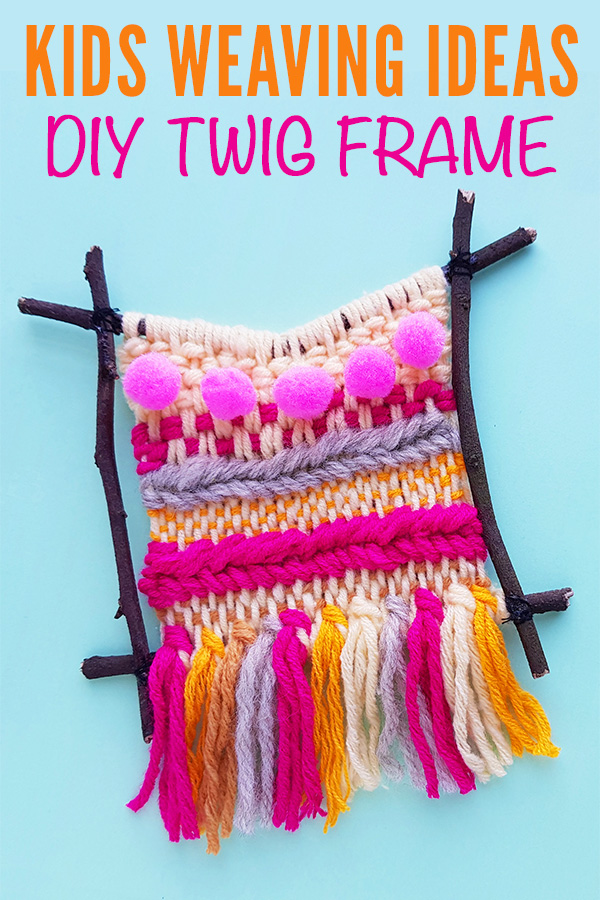
Weaving is a enjoyable inventive exercise at any age and this cool DIY Twig Body is the right weaving for teenagers exercise for tweens and youths.
It makes an important addition to our Summer season Crafts for Tweens assortment and, like our current Craft Stick Lantern, the completed consequence appears to be like nice displayed of their bed room or private area.

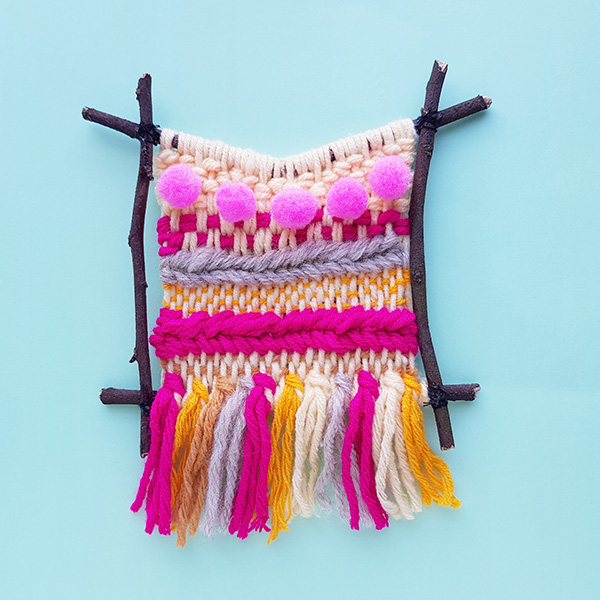
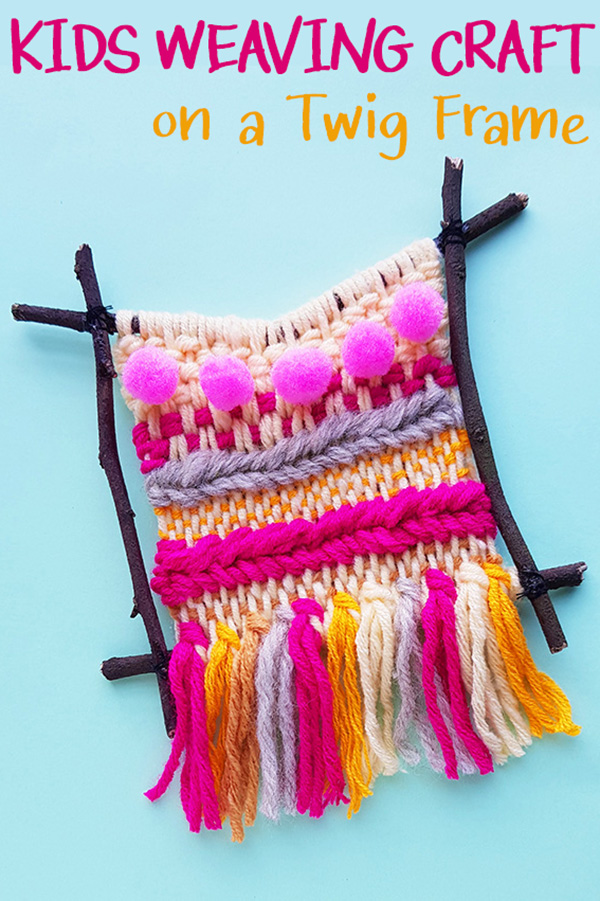
Weaving for Children Venture: DIY Twig Body
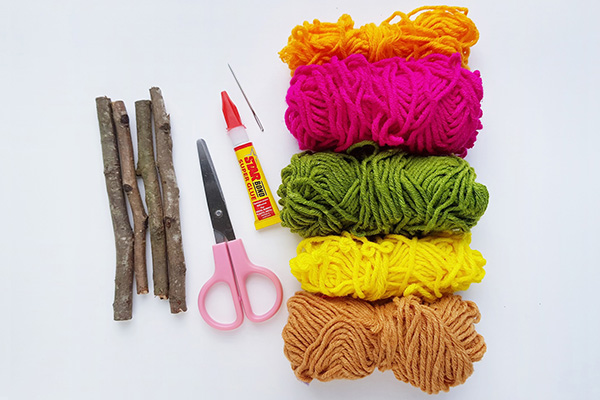
You have to:
- four twigs
- Tremendous glue
- Yarn
- Tapestry needle
- Scissors
To make:
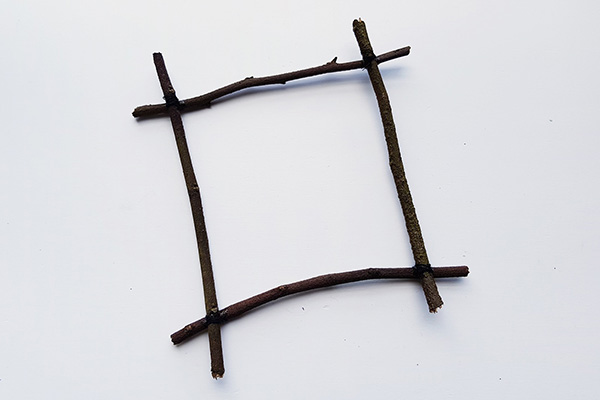
Step 1- Forming the Twig Body
Reduce the 4 twigs to the identical size. Laying them onto a flat floor, kind a sq. with the twigs . Be sure that the twigs overlap each other roughly an inch on every nook.
Apply Superglue to hitch the twigs on the corners and kind the body.
What’s the distinction between the warp and weft?
Earlier than beginning it’s helpful to know two necessary weaving phrases – ‘warp’ and ‘weft’.
In weaving, warp refers back to the vertical threads which might be held stationary on the body or loom. Weft refers back to the threads which might be woven out and in of the warp, operating horizontally throughout the loom.
Step 2 – Forming the Warp
Select a yarn to kind the warp. Tie a knot round any one of many twigs close to the nook of the body. Draw the yarn strand all the way in which to the other twig and wrap it round that twig twice.
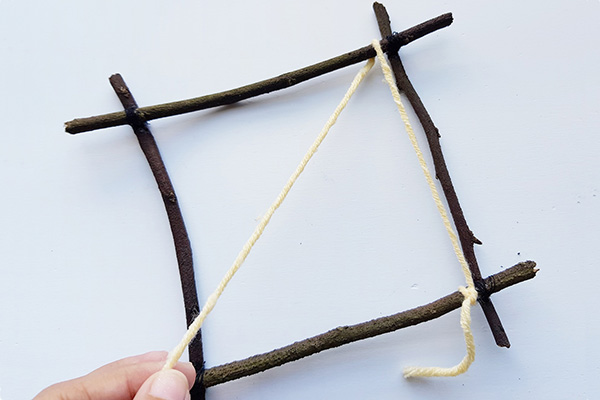
Then convey the yarn strand all the way in which again to the other twig once more.

Wrap the yarn strand round that twig two occasions after which draw it in direction of the other twig once more.
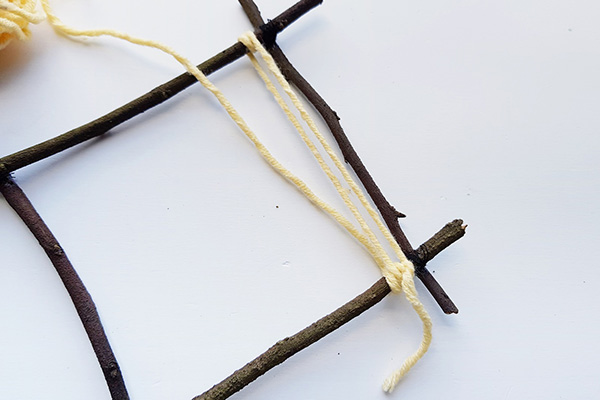
Proceed to comply with these steps till the entire body is stuffed with the warp. Guarantee you will have an odd variety of warp threads. As soon as completed, tie the open finish of the yarn across the twig and lower off additional yarn.
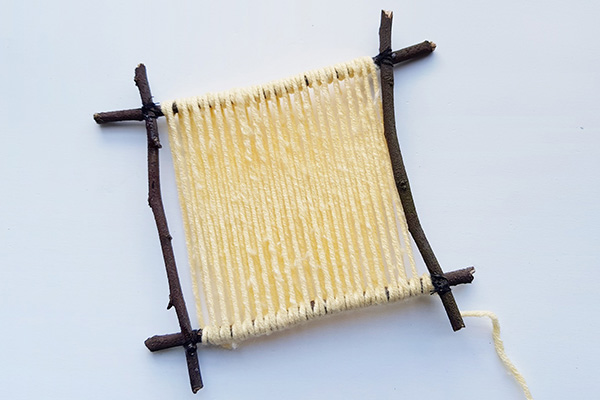
Step three – Weaving the Weft: Plain Weave
Select a yarn to start weaving the weft. Thread onto the tapestry needle. Holding three inches of the tip of the yarn on the rear of the weaving body, start drawing the needle over and below the warp strands.
After the weaving reaches the far aspect of the warp, take the needle across the last thread of the warp and proceed to weave over and below again to the preliminary aspect. This time you’ll be weaving the other over-under sample as you probably did for the primary row (in any other case you’ll undo what you will have simply woven). That is referred to as a plain or tabby weave.
Proceed to weave as many rows as you desire to for that yarn.
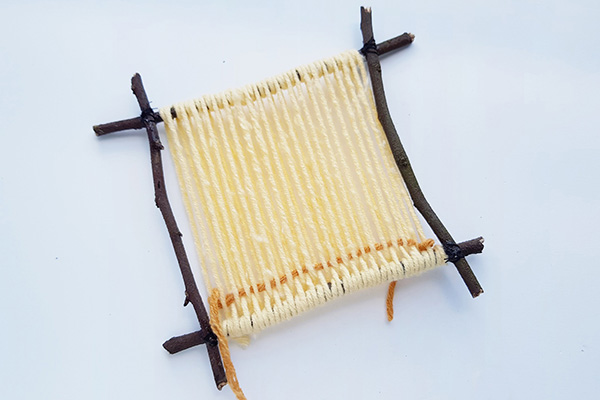
When you find yourself prepared to modify yarns, finish the present yarn by leaving a three inch tail.
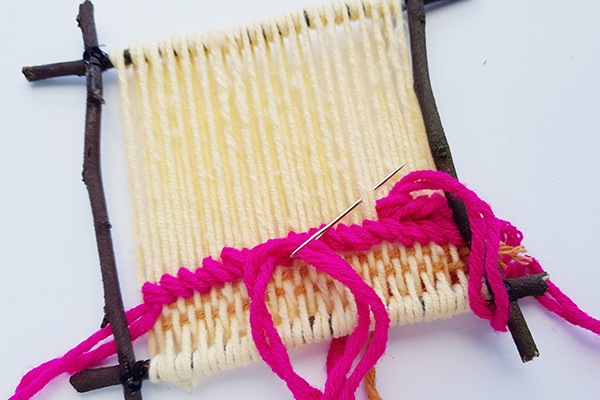
Step four – Soumak Weave
To kind the weave proven with the chunky pink yarn in our pattern, put together the tapestry needle with double strands of your chosen yarn.
Draw the needle from the again aspect to the entrance of the warp, holding a 3 inch tail of yarn on the again aspect. Skip the primary warp string from the left and draw the needle across the again of the second warp string from proper to left.
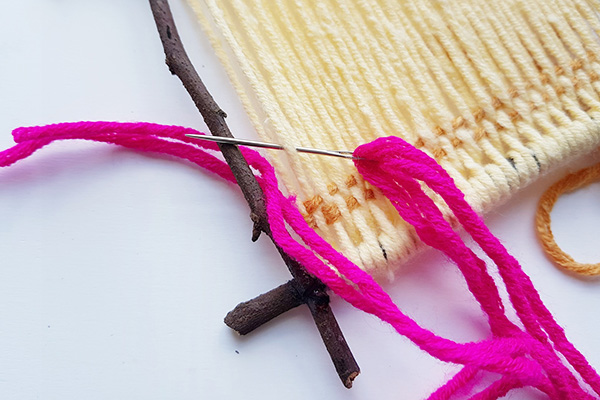
Proceed to weave by drawing the needle round each second string from proper to left. That is referred to as a Soumak weave. It may also be made with a single strand of yarn, it doesn’t must be doubled – we identical to the chunky look!
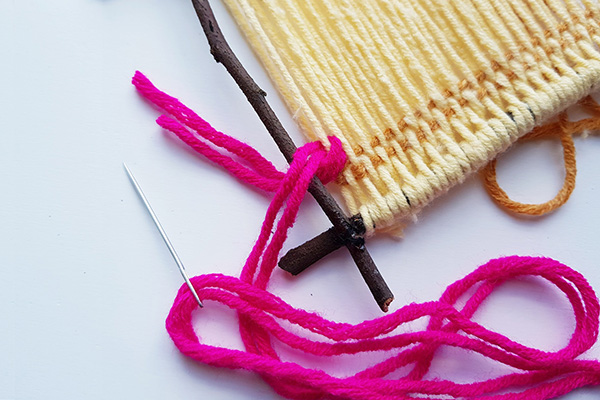
Proceed weaving till reaching the opposite aspect.
After reaching the opposite aspect; start the following row, persevering with with the identical approach however from the wrong way. This can kind a cool braid sample.
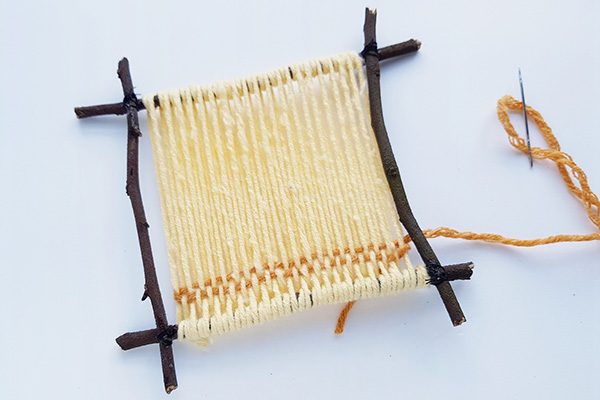
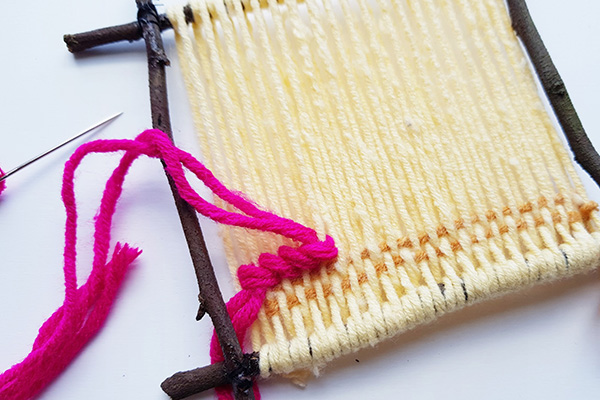
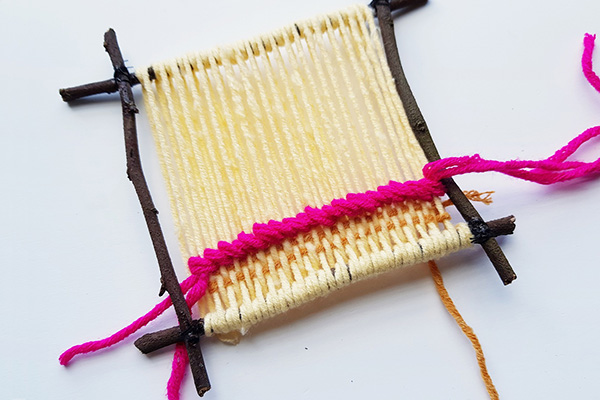
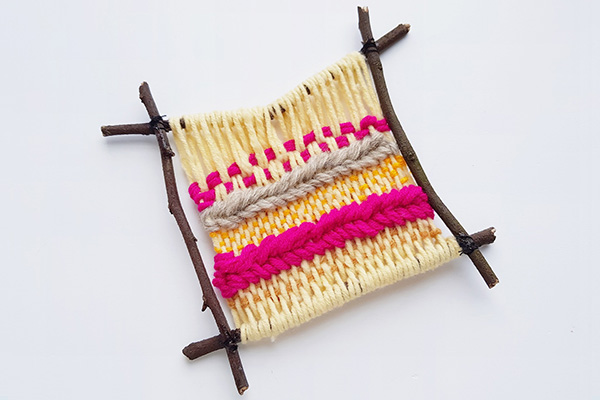
Step 5 – Proceed Weaving
Choose a distinct coloured yarn and proceed along with your chosen weave.

Combine and match totally different coloured and weight of yarns to finish your weaving. Tie off the free ends of yarn behind your weaving body and trim the ends.
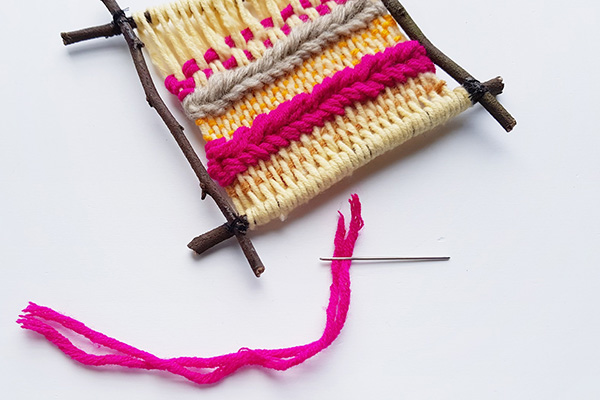
Step 6 – Including Tassels
Create a collection of tassels to kind a fringe alongside the underside of your tapestry.
To create every tassel, lower two yarn strands (6 inches lengthy) for every tassel. Insert each strands right into a tapestry needle.
Word: You should use extra strands of yarn for every tassel however they are going to be harder to string onto the needle.
So as to add the tassels from the left aspect, draw the needle below the primary warp from the left. Draw the strands midway by after which cease.
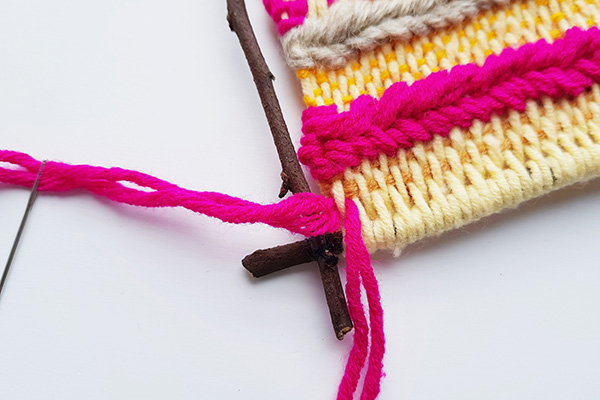
Now maintain the strands and draw them below 2nd warp from the fitting.
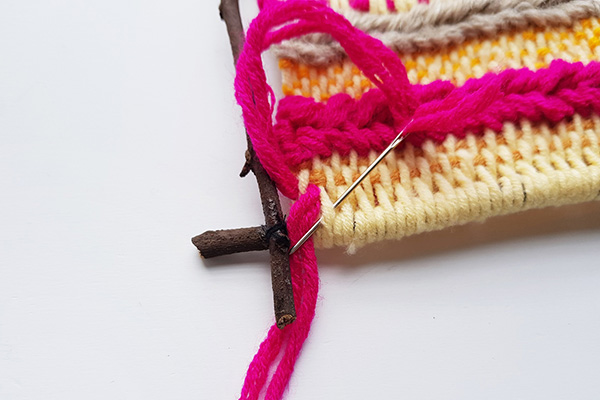
Pull the open ends of the strands during; which can kind a loop with the warp strand and safe the tassel.
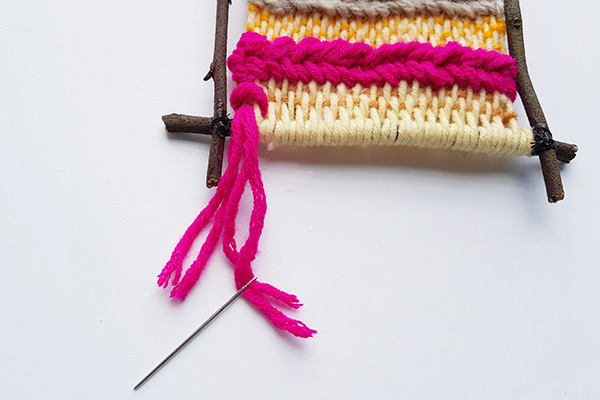
Repeat the method to connect the remainder of the tassels alongside the underside aspect of the weaving body.

Step 7 – Ending Touches
Add pompom or felt flowers to embellish the completed piece.
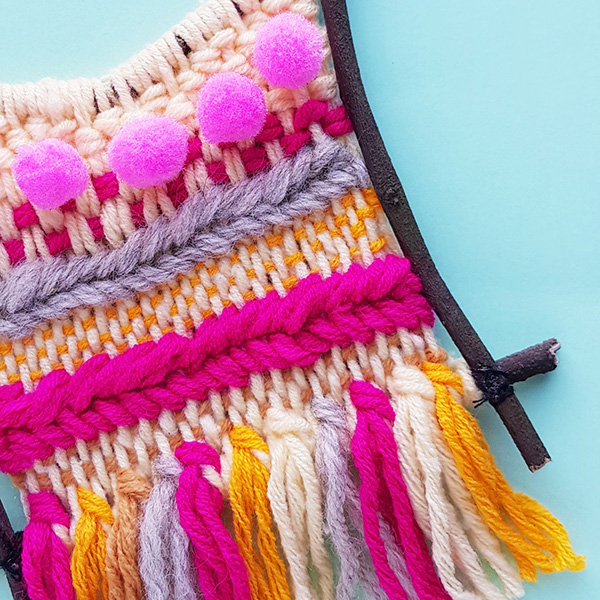
Dangle and revel in your arduous work!
In search of extra concepts for tweens? Preserve them busy with our A to Z of Tween Boredom Busters.
The put up Weaving for Children: DIY Twig Body appeared first on Childhood101.